5-axis CNC machining — Lamborghini grille

Posted on : Aug 29, 2022 By GREFEE
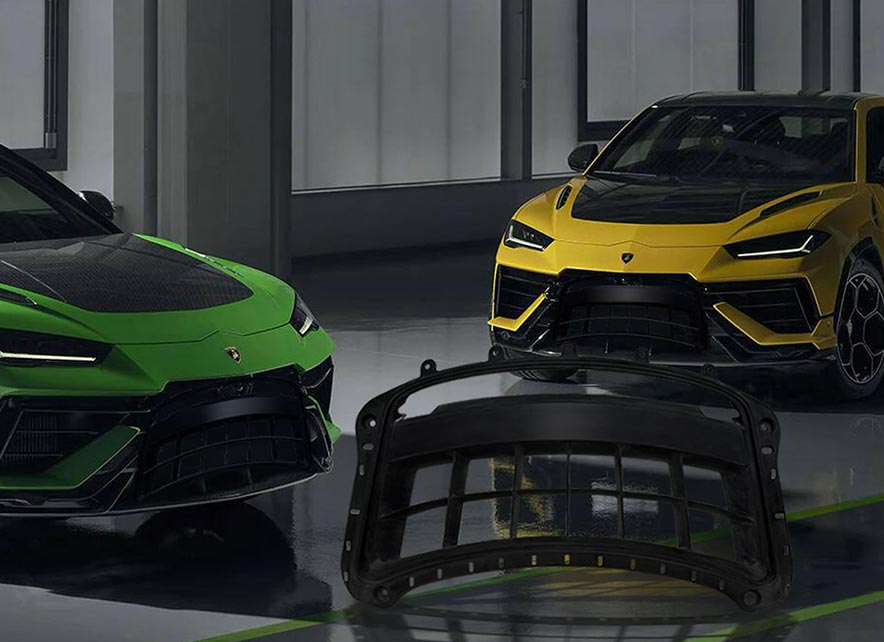
Lamborghini is one of the most luxurious sports cars. It was a great honor for GREFEE to have an opportunity to work with the R&D team to produce the grille for its Urus model, which was 150 sets.
The team from Lamborghini required the main body be produced by 5-axis CNC machining, and the bottom to snap via assembly. The requirements for the surface finish was high , with a surface roughness target of Ra0.05mm, and dimension tolerances of ±0.25mm. The post-treatment of the products was to be completed by the customers on site.
Now, we will introduce how we complete this project step by step.
Introduction:
Dimension (mm): 578X937X145
Information & requirements of product:
material:70%ABS 30%PC
There are two products, each of them must be milled from one piece of material, and materials cannot be spliced.
The bonding glue needs to withstand a temperature of 110 °
tolerance ± 0.25mm
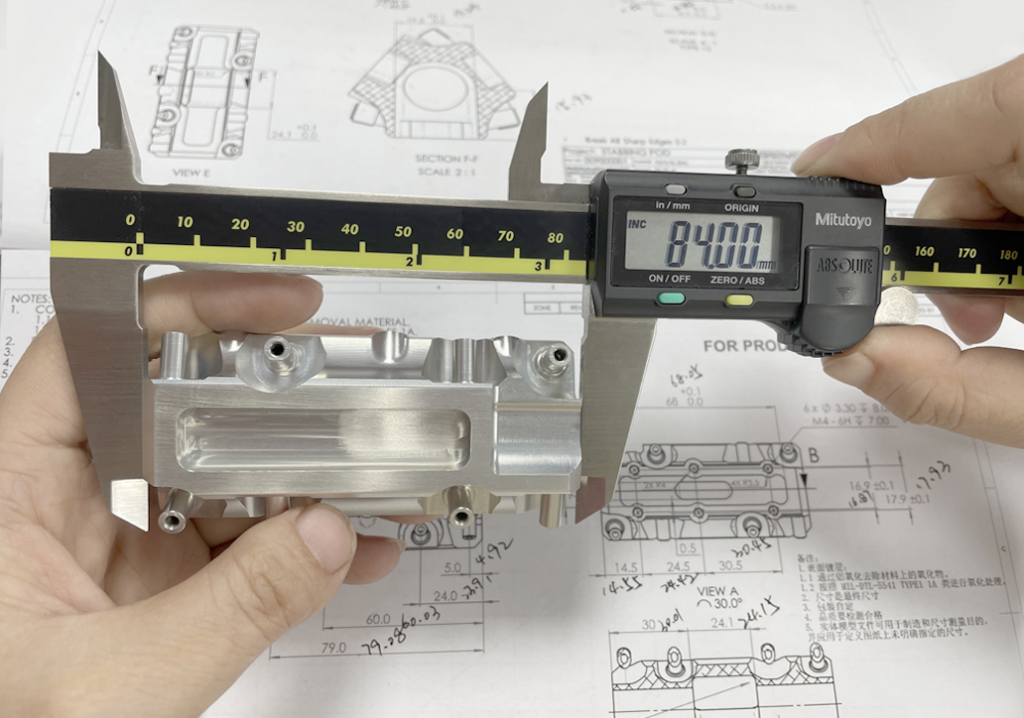
No manual grinding after milling. It is necessary to ensure that the end product after processing is consistent with the 3D drawing with a tolerance within ± 0.25mm. CMM report is needed.
Accurate processing data. The material cannot be reduced or added.
Super smooth surface in surface A, surface roughness Ra0.05mm.
The side B is invisible after the grille is installed in the car, so the super smooth surface is not required.
The Lamborghini team was in charge of the fuel injection.
To ensure the accuracy of the products and surface roughness, we set an array of requirements for the CNC machining coefficient.
Milling feed of side A
Tool diameter used in side A
Milling speed of side A
Milling feed of side B
Tool diameter used in side B
Milling rotation of side B
Information Table
| Number | Tool Name | Tool Diameter(mm) | Milling feed rate | Milling revolutions (min) | Remark |
| 1 | ¢10 | 10 | 2 | 25000 | Rough milling |
| 2 | R4 | 8 | 0.05 | 25000 | Rough milling |
| 3 | ¢4 | 4 | 0.05 | 25000 | Rough milling |
| 4 | R2 | 4 | 0.05 | 25000 | Rough milling |
| 5 | ¢2 | 2 | 0.05 | 25000 | Rough milling |
| Number | Tool Name | Tool Diameter(mm) | Milling feed rate | Milling revolutions (min) | Remark |
| 1 | ¢10 | 10 | 2 | 10000 | Rough milling |
| 2 | R4 | 8 | 0.05 | 10000 | Fine milling |
| 3 | ¢4 | 4 | 0.05 | 10000 | Fine milling |
| 4 | R2 | 4 | 0.05 | 10000 | Fine milling |
| 5 | ¢2 | 2 | 0.05 | 10000 | Fine milling |
GREFEE adopted a scientific quality management method. Before starting this project, we had formulated relevant manufacturing specifications for all segments to ensure that all requirements were met in accordance with the standards.
Click the link for more information
CNC machining specification of Lamborghini grille project
Checklist for CNC machining process of Lamborghini grille project
Statistics of daily CNC machining capacity of Lamborghini grille project
Operation instruction for adhesive process of Lamborghini grille project
Processing process of GREFEE parts
GREFEE management procedure of parts processing project
Figure after completion
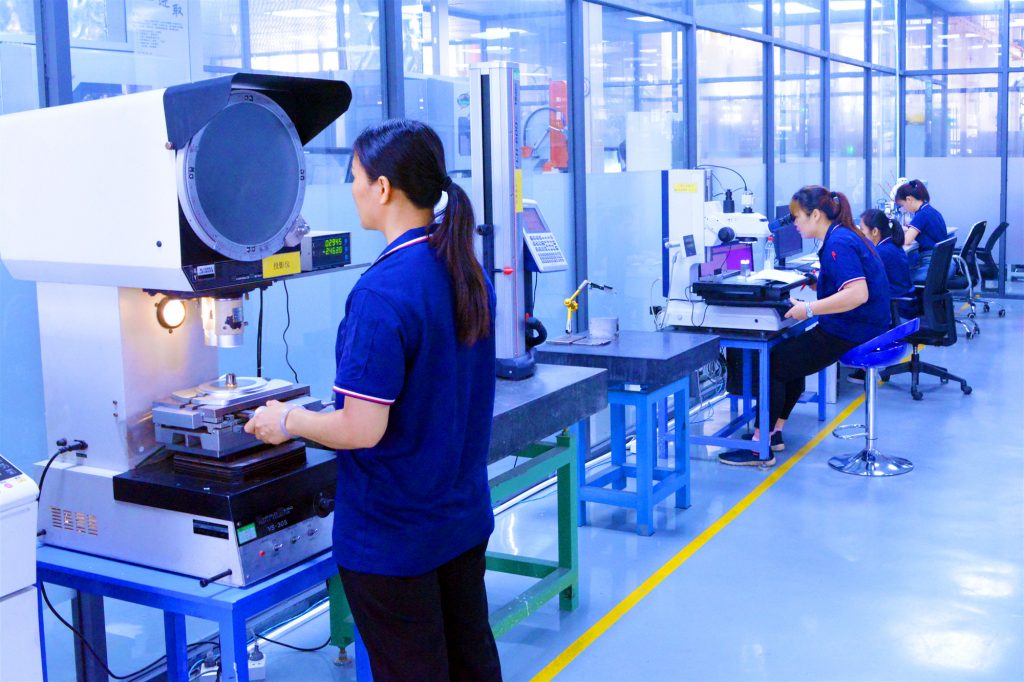
The number of the order was 150 sets. To accurately detect whether the product size was qualified, we adopted the cmm+ detection fixture detection scheme, which is efficient because it would waste a lot of time if all products were detected by CMM. Therefore, the detection fixture was really helpful when detecting the contour accuracy of products, and we participated in the CMM detection of the product assembly position.
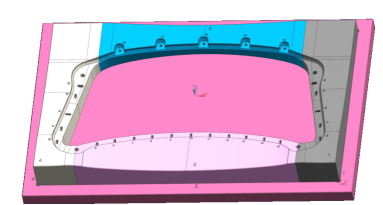
In order to save the cost of inspection tools and ensure the accuracy of inspection tools, we adopted the inlay processing, left a margin of 2mm, and then locked it on a board for overall processing.
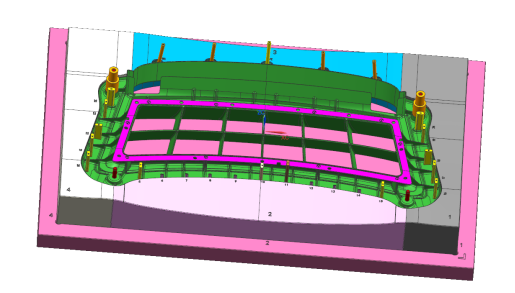
For the holes and special-shaped grooves on the products, we had customized the through gauge and straight gauge. When the start gauge could be inserted and the stop gauge could not be inserted, indicating that the size of this place was qualified.
Usage of inspection tool:
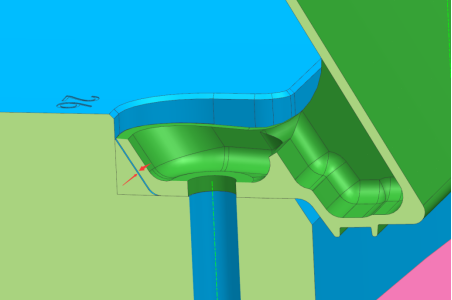
Use a plug gauge to measure the gap between the product and the inspection tool to check whether the dimension is OK
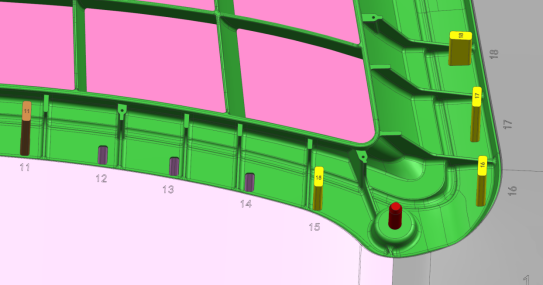
A through gauge and a straight gauge are specifically designed for the holes and special-shaped grooves on the products. When the go gauge could be inserted and the stop gauge could not be inserted, indicating the size of this place was qualified.
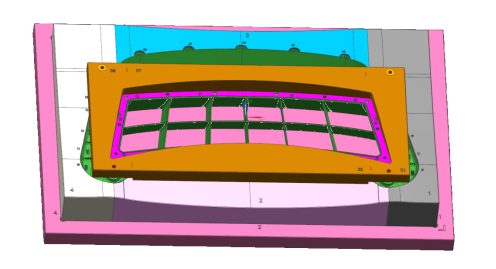
Check the product with this standard part to ensure that the product position works correctly after the two products are spliced.
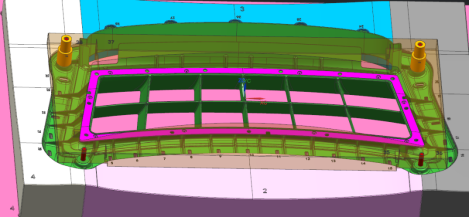
Position the four support columns and ensure that the overall position of the two gauges was correct.
Inspection of appearance roughness
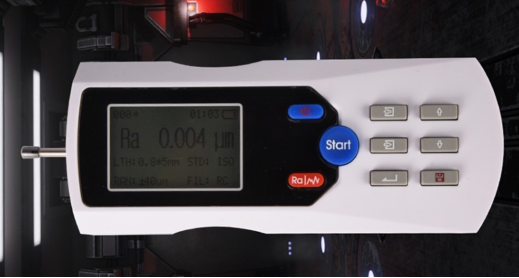
Surface measurement of products with roughness instrument
The package is essential for large-scale products, like this product, which is fragile if is not properly packaged. Thus, GREFEE pay must attention to the package.
Packaging steps:
1. The products were packed in customized PE bags with a thickness of 0.2mm
2. Wrapped 3 layers of bubble wrap
3. Placed the product in the box and used the bubble wrap to support, which provided both supporting and protective effects
4. The outer packaging adopted 5mm thick wooden cases. Each case had an independent number, corresponding to the product number, so that the data could be traced.
Package size: 990*1260*680 mm
Packing instructions: put 2 products on each floor, and separated them by the middle partition, a total of 5 layers, 1 box for 10 products, a total of 15 wooden boxes
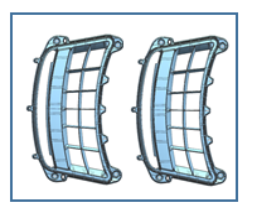
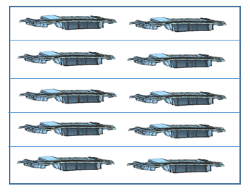
Packaging requirements:
1. The products must be placed orderly in the box, and the quantity of each layer must be unified.
2. All packaging bags / boxes must be sealed in time and pasted with corresponding material labels immediately.
3. The material label must be filled in according to the blank requirements, and the name of the Inspector / packer must be signed.
4. All products are required to be orderly packed with plastic bags or other packaging materials. Avoid stacking, pressing, bumping and scratching during transportation
Positive feedback from Lamborghini to GREFEE
The whole project overall took 50 days to complete the 150 sets of grille. No matter the processing quality or the rapid lead time were both highly praised by the R&D department of Lamborghini. After the whole inspection of the products, GREFEE was granted certificates for the efforts we made from the R&D manager, Oliver.
Conclusion:
Through this project, GREFEE learned a lot from this team work, which not only provided an access for our team to know more about the manufacturing requirements of the world’s top automobile sports cars, but also opened the door to our high-end automobile market in Europe. This was truly a valuable experience for our team!
The CNC processing department in GREFEE is fearless to challenges. We own four DGM 5- axis CNC machines and one Mikron 5- axis CNC machines. We have provided long-term services for automotive, aviation, medical, 5g communication and other industries with extremely difficult five axis CNC parts processing. If you are looking for a reliable and professional partner, please contact us to get the preferential real time quotation and free project evaluation.
MORE BOLG
Insert mold in injection mold service
What are advantages and disadvantages of Zinc alloy and Aluminum alloy?
Inspection standards for injection molded partappearance
How to judge the quality of your plastic products?
Inspection standards for CNC machining
To ensure that your products are 100% qualified
Categories

Try GREFEE now,for free
We keep your uploaded files confidential and secure.
