Injection Molding Part Tolerance is Vital in Assembling

Posted on : May 10, 2022 By GREFEE
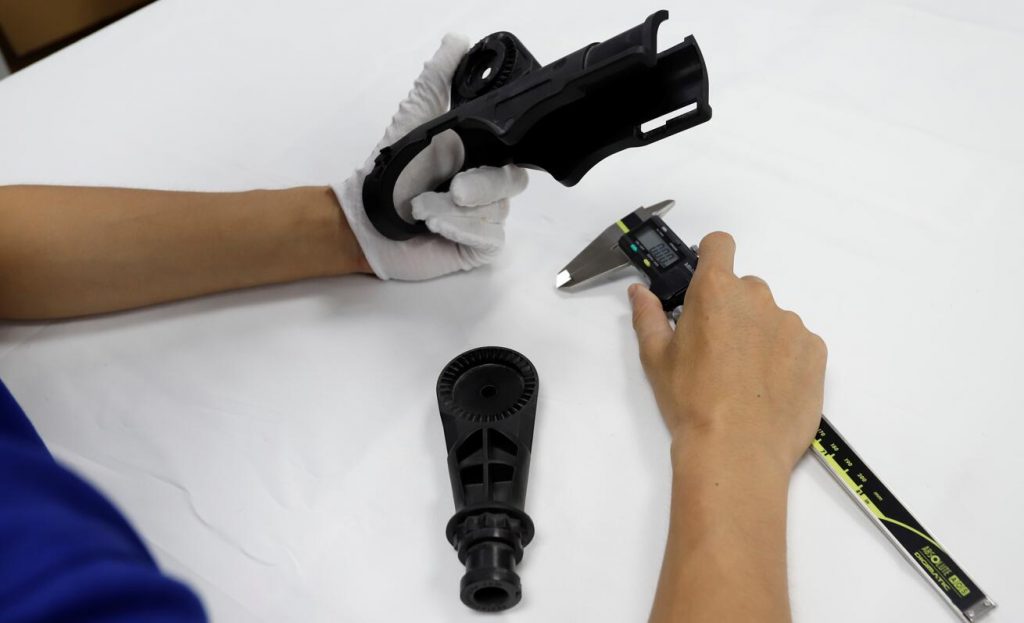
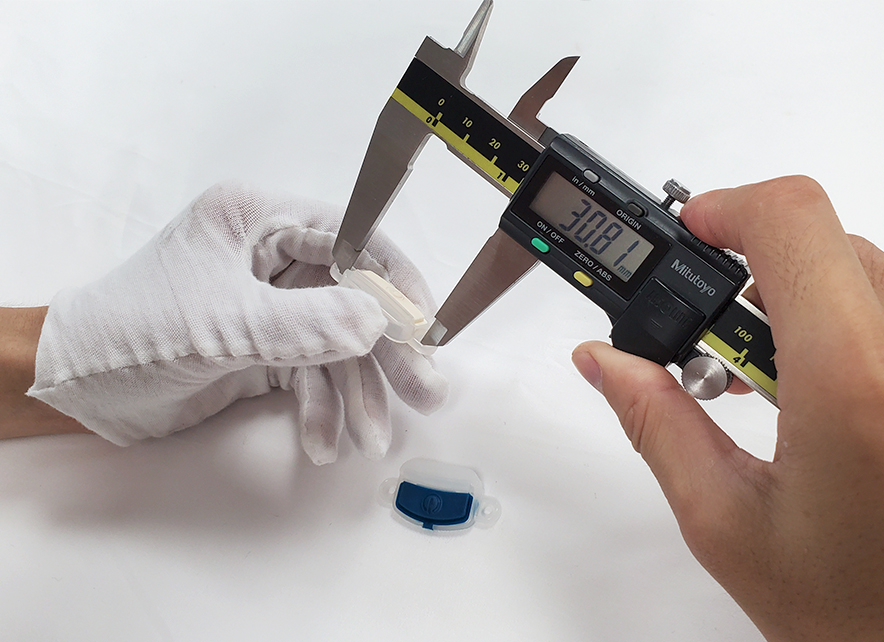
Many plastic products are made from injection molding due to their high production efficiency and low cost. Compared to other parts, the tolerance also can be neglected during production. Unqualified tolerance leads to difficulties in assembling. This must be avoided because it is not only time loss but also money loss. Today, we will talk about controlling the tolerance in injection molding with high quality assurance through DFM principles, material selection, tool design, and process control.
Why tolerance is so important?
For two flat parts fixed by the bolt, the position tolerance of holes on each part must work in all situations, which means a part with the lowest tolerance and another part with the highest tolerance. Both of them must coordinate with each other in assembling. In this situation, it seems very easy to achieve. However, assembling multi-part, one part might lead to high tolerance for the whole sub-unit and poor working efficiency. Tolerance analysis: Tolerance stack and statistic analysis can be applied to modifying the injection molding tolerance of sub-unit with multi-part.

Factors affect injection molding tolerance
1. part design
One of the helpful methods to avoid issues like warpage, over shrinkage, and dislocation is to follow DFM principles in designing parts. This is achieved through coordinating with vendors at the first stage of the designing process to prevent rework in the later stage.
Establish a tolerance range in the design stage to control injection molding tolerance because it is vital for ensuring the function of most sub-units, and this improves the manufacturability and repeatability of mold making in the first stage, too. The guarantee of the quality for the whole cycle relies on enhanced repeatability and manufacturability.
Considerations :
The contraction rate varies according to the material selection and product thickness. Contraction rate affects tolerance, too.
The size of the parts is another factor that affects the contraction rate. Small sub-units have a low contraction rate and are easy to maintain size control. However, it might be difficult for bigger parts to maintain a more strict tolerance when contracting over a longer distance.
mold flow analysis conduction is necessary before production because it can forecast the gate position, feeding velocity, cutting stress, accumulation, contraction, and cooling, which helps make sure the tolerance range and helps to prevent warpage, contraction, or tight tolerance in deformed areas.
Wall thickness — changeable wall thickness parts appear at different contraction rates. When it is inevitable to avoid thick areas, it has to take the core to maintain the thickness of the wall to avoid the deformation, tolerance, and assembly due to uneven wall thickness. Too thick wall thickness is not always the best option to increase the strength. In possible situations, it is better to strengthen ribs and gusset plates to enhance the strength of the parts.
Drafting angle — the draft angle is vital to ensure the parts are ejected from the tools. In a not optimal situation, the part might be stuck in ejection, scarping, and warpage. The draft angle can be changed from 0.5 degrees to 3 degrees, which is specifically determined by the part design and surface cleanliness.
Boss features — assemble multiple plastic parts. The boss is utilized to contain fixtures. If it is too thick, there might have depression on the parts. If they are not connected with the sidewall through ribs, it might deform and cause parts are hard to assemble.
2. Material selection
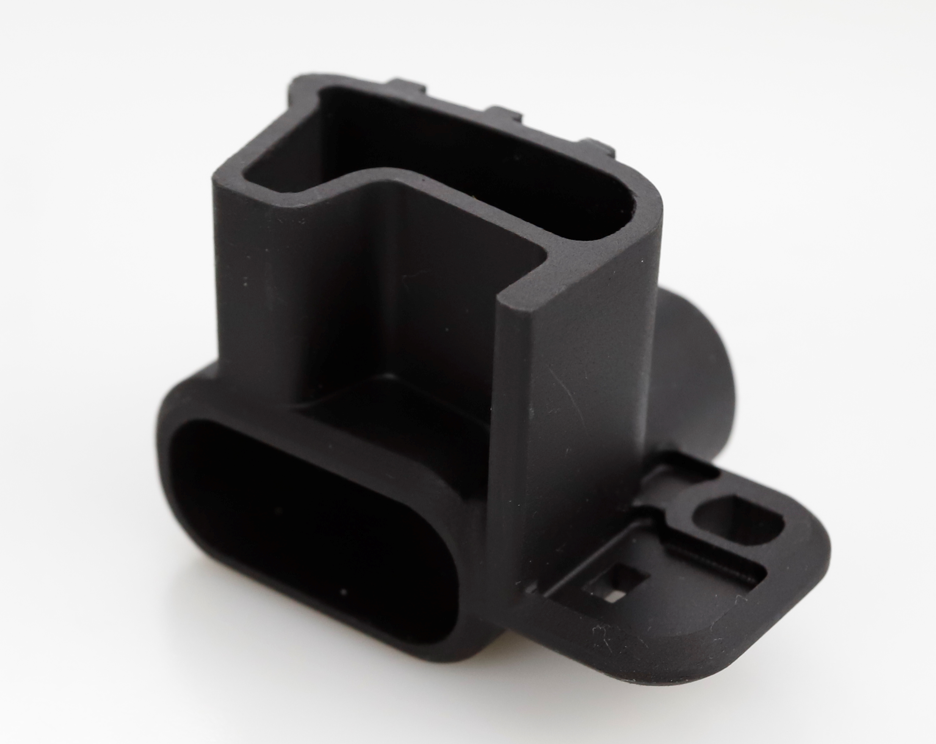
Injection molding plastic might be made of different types of resin. Selections of all these materials are determined by the application of final products. Each resin has a different contraction rate. In designing molds, the modification of the mold size is achieved with the material contraction percentage. If it needs multi-material to assemble, a different contraction rate is essential. Incorrect tolerance leads to parts being hard to assemble.
Injection molding tolerance is mainly determined by the material contraction and part shapes. Before designing and making molds, the selection of martial should be confirmed because the design has highly relied on the selected material.
3. Mold design
Once the material is selected, the mold will be designed into a larger size to prevent material contraction.
However, contraction is not always consistent with all sizes. For example, the cooling efficiency of thick parts is different from that of thin parts. Hence, the cooling efficiency of complex parts with both thick and thin walls might be changeable. Warpage and sinks result from this kind of reason largely affect the injection tolerance and assembly. To limit this influence, the toolmakers should consider the below factors when designing the molds, which are :
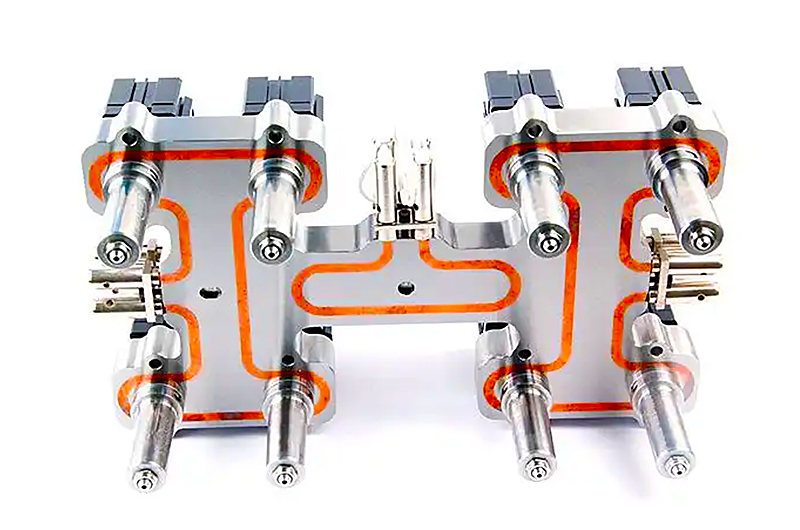
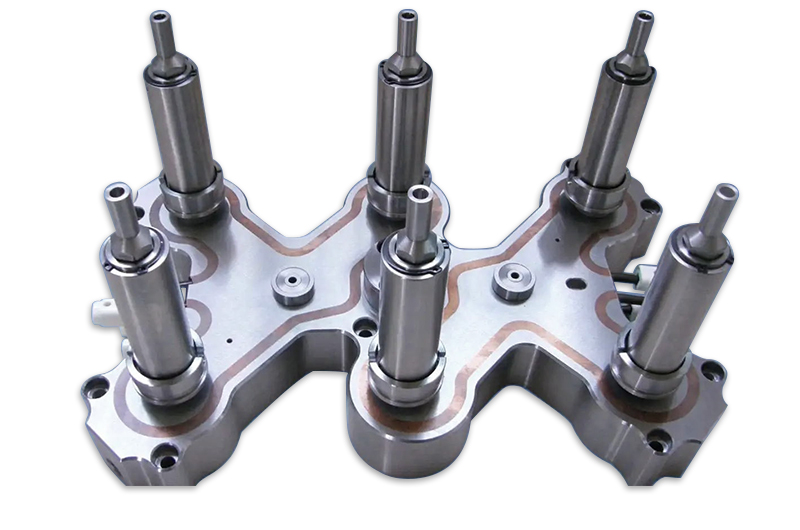
Mold cooling — cooling control is vital for maintaining an equal contraction rate. Poor cooling efficiency will lead to uncontrollable contraction and further cause the tolerance far from the stand. The correct placement of the cooling pipes can enhance the consistency of parts significantly.
Mold tolerance — tolerance exceeds standards results in extra errors besides the ones due to contraction in the following injection molding parts. However, in the CNC machining process, the tolerance of tools might be controlled and monitored strictly. Thus, tolerance exceeds the range seldom results from the tolerance errors of the parts. Moreover, critical size and characteristics and be altered through extra milling. If the part size of some final products is not within the tolerance range, extra material can be added to modify the tools through machine processing. For instance, there is a hole in the mold for connecting with another part. The designed core is located at the side, which has wide tolerance. It would be thinner after alteration.

Position of ejector pin — ejector pin ejects the mold out when opening, which should be processed as quickly as possible to reduce the cycle time. If the position of the ejector pin is not in a proper place, the part might be damaged. Some materials taken out from tools are not fully rigid, so uneven ejection will lead to issues like the server warpage and size inconsistency issues.
4. process control
Even though we considered all things associated with design and material to modify the tolerance issue, a few parts in the first batch samples still appear to the tolerance-exceeding errors. The next step is to adjust the procedures if we combine all the methods above. Temperature, pressure, and pressure holding time control are several common ways to enhance the quality of parts. Once we have the ideal conditions, stable production is ensured, and the size difference is minimized significantly.
In parts with complex features, insert the pressure and temperature conductor into the tools to measure these coefficients during production to provide real-time feedback and accurately control the process. Pressure and temperature consistency are essential for a consistent tolerance.
In parts with complex features, insert the pressure and temperature conductor into the tools to measure these coefficients during production to provide real-time feedback and accurately control the process. Pressure and temperature consistency are essential for a consistent tolerance.
To conclude: part tolerance is affected by many factors. According to experience, A: mold making tolerance accounts for about 1/3; B: tolerance due to mold wear accounts for about 1/6; C: tolerance due to imbalanced contraction rate accounts for 1/3; D: predetermined shrinkage and actual shrinkage inconsistency accounts for 1/6. These rigorous manufacturing standards cannot be achieved without professional suppliers. If these details can be properly dealt with, tolerance can be controlled within a required range. For more information, contact the GREFEE engineering team for support.

Try GREFEE now,for free
We keep your uploaded files confidential and secure.

