Details that You Should Know in Controlling the CNC Part Tolerance

Posted on : June 13, 2022 By GREFEE
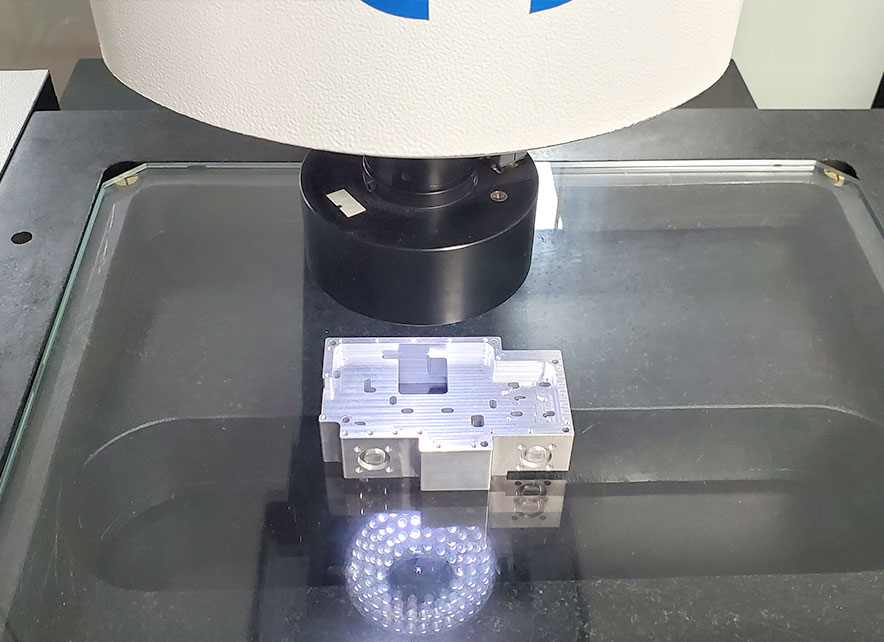
Tolerance refers to the difference between the actual geometric parameter (geometric dimension, geometry, and mutual position)after the processing and the ideal geometric parameters, also called the processing accuracy. The lower the error, the higher the degree of fit, and the higher the processing accuracy. The processing accuracy and the processing errors are two versions of one question. Thus, processing errors reflect the degree of processing accuracy.
Manufacturing Errors of Lathe
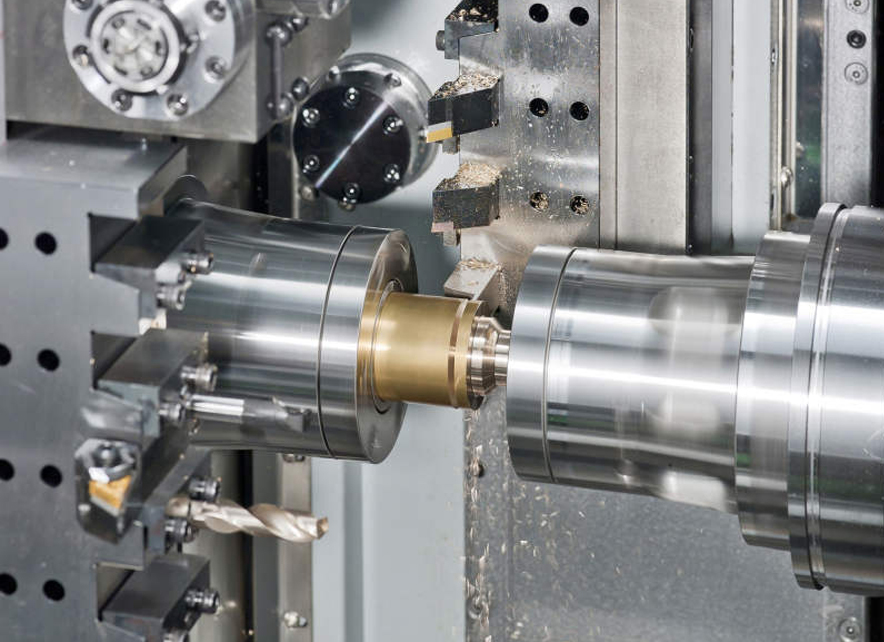
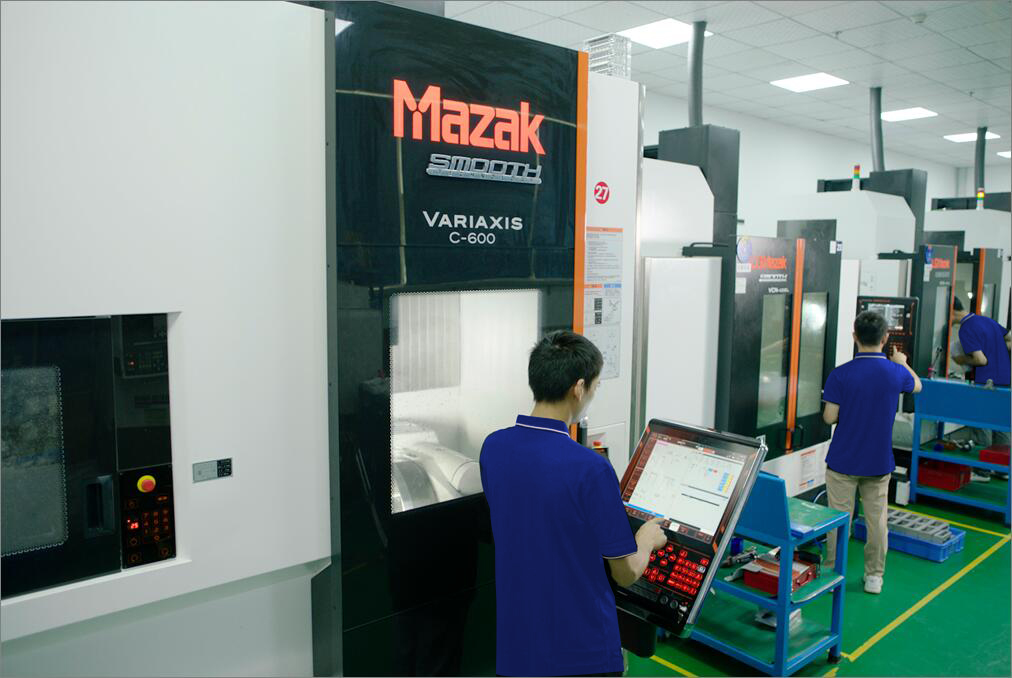
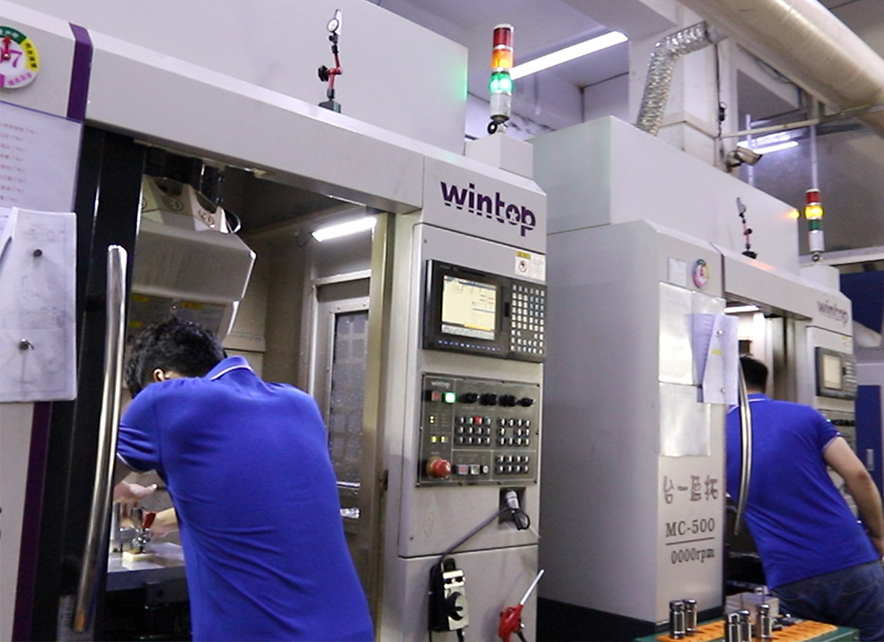
Factors that affect the CNC processing are diverse, including the geometrical errors of the lathe, thermal deformation errors, and the servo feed system errors. From these factors, the servo feed system and geometrical errors of the lathe are common factors affecting the quality of products to a certain extent.
(1). In the CNC processing, it mainly works by controlling the processing position through the servo motor drives ball screw. If there are errors in the transmission of the screw rod, the accuracy of the whole lathe location will be affected. In the actual working, if the servo motor leads screw moves in the opposite direction, not only affects the processing accuracy but also leads to the CNC lathe racing, causing errors.
(2). in the CNC fine machining, it will also be impacted by the external force and lead to the elastic deformation of the moving parts, deteriorating the error problems. For example, in CNC machining, the tools are impacted by the external force and then deform. So, the geometrical accuracy of the lathe decreased, leading to the unqualified machined parts, which is called cutter back-off, one of the reasons for lathes problems.
(3). in CNC fine machining, the geometrical errors of the CNC lathe are determined by the lathe rail, base, and other structures. If the design of the lathe is not accurate, the lathe will increase its weight in the processing and then affect the accuracy of products. For example, when designing, a select rail with weak load capacity will lead to an accuracy issue when the lathe is moving at a high speed.
Geometrical Errors of Tools
Any tools will be worn inevitably in the cutting process and cause the dimension and shape to change. The impact of the geometrical errors of the tools in mechanical processing varies according to their difference. Utilizing the scaling-off tools to process the error will affect the processing accuracy. However, for the common tools (like turning tools), the euros have no direct impact on the mechanical processing.
Geometrical Errors of Gigs
The function of jigs is to make the tools like cutters and lathes have the correct position. Thus, the geometrical error of jigs will impact the mechanical processing errors significantly (especially the position errors).
Positioning Errors
The positioning errors include the datum misalignment error and inaccurate positioning sub manufacturing errors. When processing the part on the lathe, one must select a few geometrical elements as the positioning benchmark. If the selected positioning datum does not coincide with the design datum (the datum used to decide the size and position of a surface on the part drawing), the datum misalignment error will occur.
The positioning surface of the part and the positioning components of jigs create the pair positioning. The unqualified pair positioning and the fit gaps between the pair positioning will lead to the maximum position variation, which is called the pair positioning manufacturing inaccuracy error. The inaccurate manufacturing errors will occur when adopting the adaptive method but will not in the trial cut met.
Errors due to Processing System Deformation
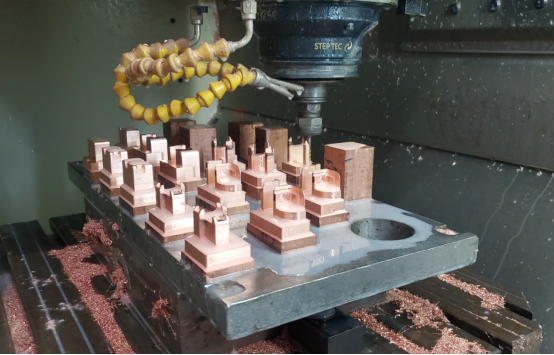
(1). Workpiece rigidity: in the processing system, if the rigidity of the workpiece is lower than the lathe, tools, and jigs, the workpiece will deform under the cutting force. This has a big impact on the mechanical processing errors.
(2). Tools rigidity: the rigidity of the external turning tool on the normal (y) direction of the processing surface is high, so its deformation can be neglected. For the inner holes of which the boring diameter, the rigidity of the cutter bar is poor, so the cutter bar deformation has a huge impact on the processing accuracy of the holes.
(3). Lather part rigidity: the lathe parts are composed of many components. The lathe parts rigidity now does not have a suitable simple calculation method. So far, the rigidity mainly relies on the experimental methods to obtain. Many factors affect the rigidity of the lathe parts, including the bonding surface deformation, friction force, low rigidity parts, gaps, etc.
Errors due to the thermal deformation of the processing system
1. CNC lathe temperature
In the actual processing, the lathe is hot. Due to the motor work, parts friction, and other reasons, the temperature of the lathe will rise and exert a negative influence on the structure system and parts. Phenomenons like the deflection of the tool in the lathe, wear, thermal inflation, circuit burning, and other factors lead to the processing accuracy decrease. Besides, due to external factors like the dissipation conditions, the machine temperature will go up, causing a drop in the processing accuracy.
2. Deviation of lathe and tools wear
There is a specific deviation in the production and installation of the processing tools, which affects the processing accuracy. When used, due to the long-term contact, friction, and high temperature between the tools and workpieces, tools will appear in various degrees of wear. Of course, when the wear deteriorates to certain content, it will exert a negative influence on the CNC processing accuracy.
3. Deviation of processing position
The actual processing position of parts is deviated compared to the design position, such as the verticality, position, radian, symmetry, etc. The mechanical processing errors caused by the gaps and elastic deformation as well as the friction will affect the processing accuracy.
4. Deviation of processing system
CNC processing system is composed of multiple subsystems and sub-components to achieve coordination. Each component and subsystem will generate a deviation in the actual processing, called the system deviation, which will impact the processing accuracy.
Errors adjustment
In each procedure of mechanical processing, the processing system still needs adjustment. Due to the uncertainty of the adjustment, there are errors. In the processing system, the mutual position accuracy of the workpiece and cutter on the lathe is ensured by adjusting the lathe, cutters, jigs, etc. When the original accuracy of the lathe, tools, jigs, and workpiece blank cannot meet the processing requirements, the errors adjustment plays a key role in the mechanical processing errors.
Measurement errors
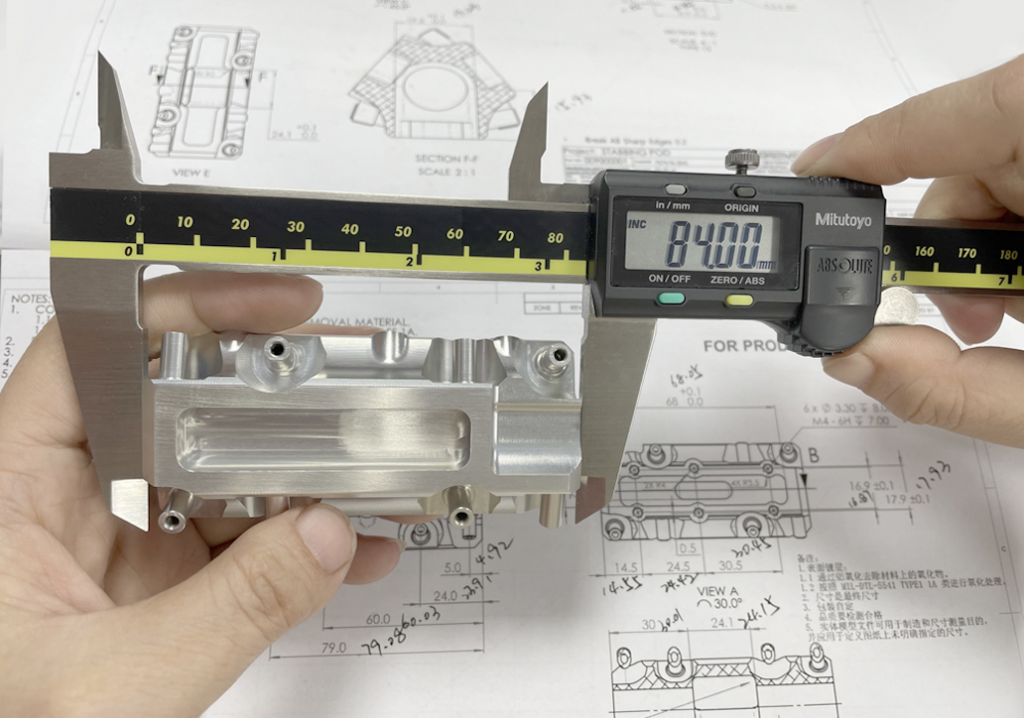
Measure the parts pre-processing and post-processing, due to the measuring method, measurer accuracy, workpiece, and other subjective and objective factors that affect the measuring accuracy.
Internal stress
The so-called internal stress exists inside the parts without the action of the external force. Once the external stress is detected on the workpiece, it will lead to an extremely unstable status. So, the workpiece begins to transmit to a low energy level at a steady rate. Moreover, the original workpiece will lose the primitive processing accuracy due to the deformation. For example, the workpiece will deform due to internal stress after the thermal treatment. The internal stress results from several reasons like uneven wall thickness and cooling. Then, the processing accuracy decreases. Therefore, when designing the parts, uniform wall thickness and symmetry structure will reduce the possibilities of internal stress.
MORE BOLG
Categories

Try GREFEE now,for free
We keep your uploaded files confidential and secure.
