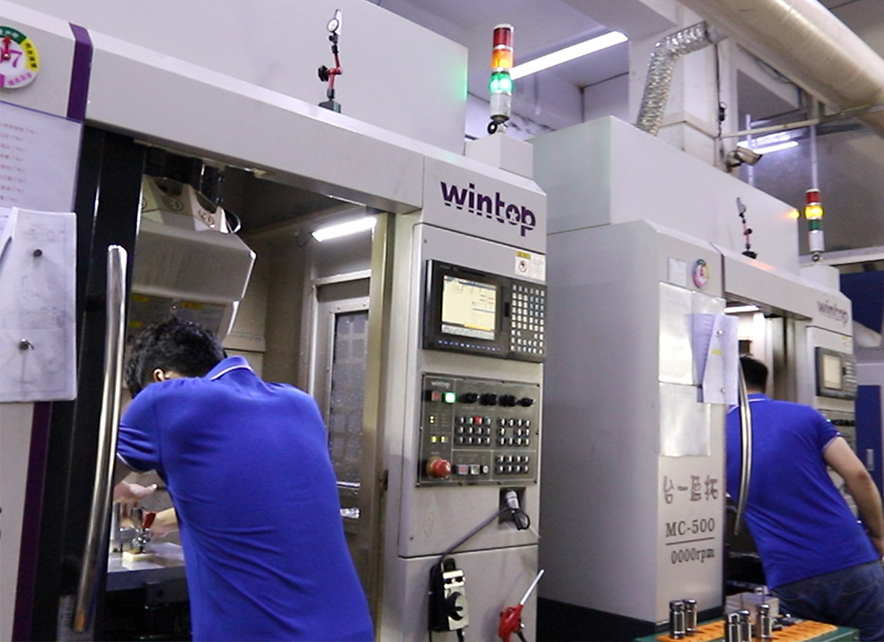
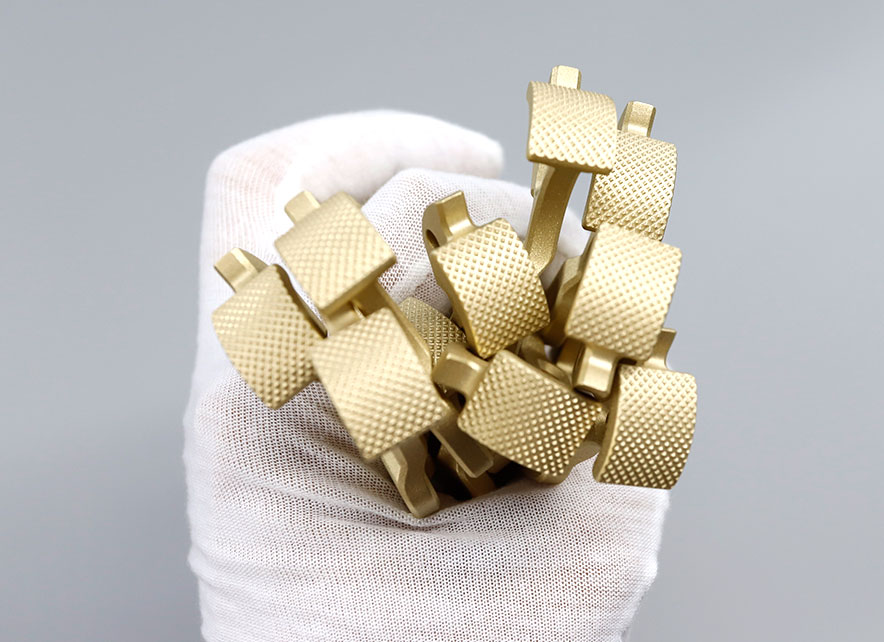
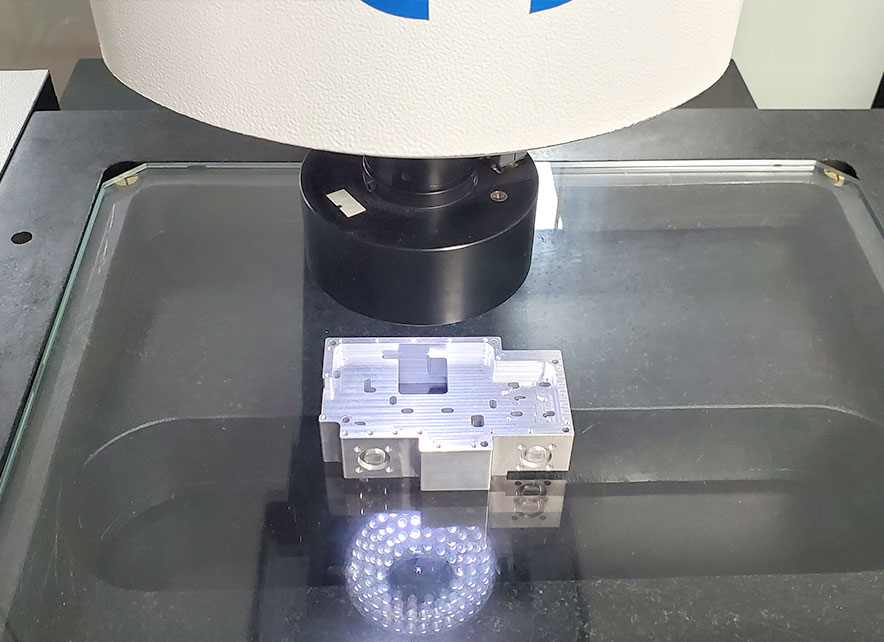
How to make perfect products with CNC machining, tips for inspection you need to know!
Posted on : January 19, 2022 By GREFEE
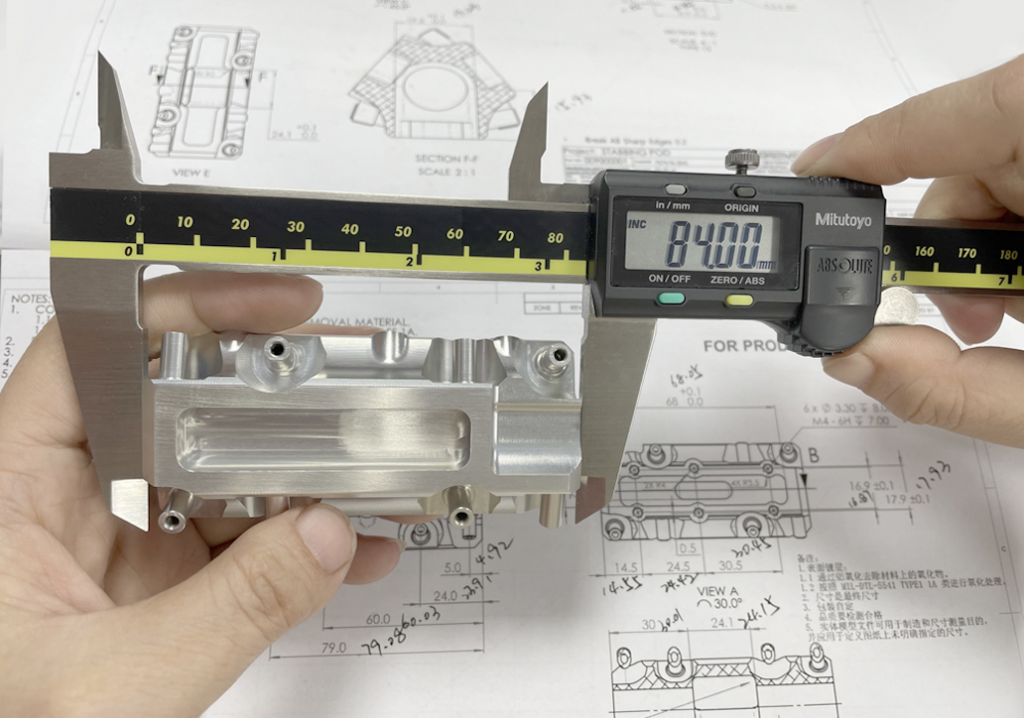
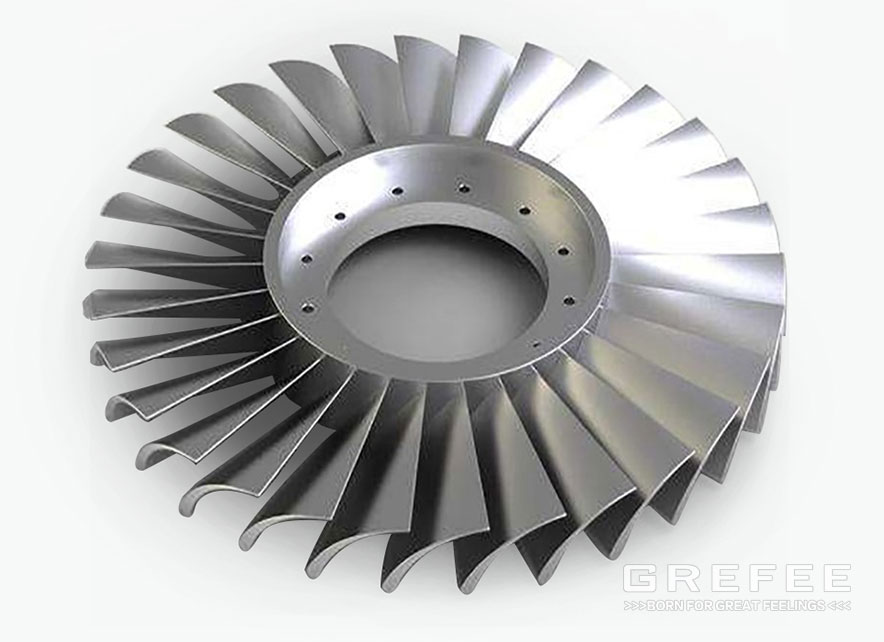
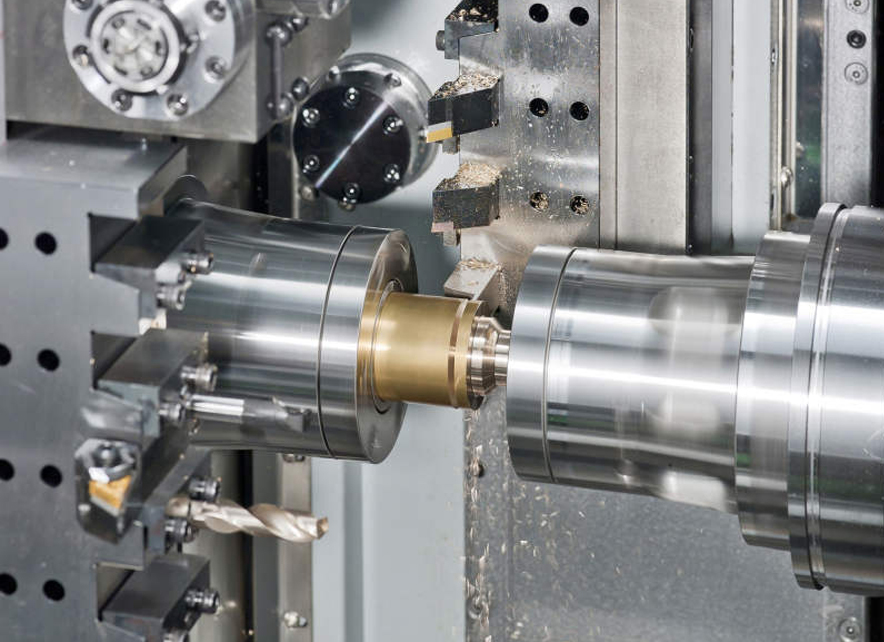
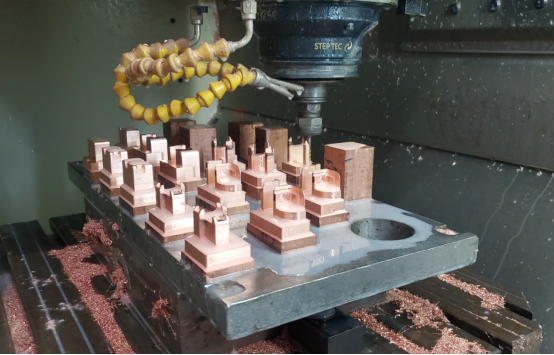
No matter which type of mater it is, metal or plastic, CNC machining can make it for for you.
However, How do we evaluate whether the requirements of CNC machined products were met?This article will introduce GREFEE’s inspection specifications for CNC machined parts.
To achieve 100% qualified products made from CNC machining, GREFEE sets the inspection specifications for CNC machined parts based on ISO9001;2015 and our years of experience. It’s the machining standard and inspection standard of CNC machined products, providing reliable criterions for dimension verification and appearance inspection for QC engineers. Every quality inspector of GREFEE is professionally trained before work, which is the reason why our products have won the trust of thousands of customers worldwide.
Inspection items and definition of common defects in CNC machining
Cutting marks: marks caused from cutter abrasion or swing, and usually is tactile, with wave shapes.
Crash: subsidence areas when crash or drop happen in improper operation.
Air hole, sand hole: irregular pore shaped defects or cellular black-spots caused from insufficient casting density.
Scratch: product friction causing strip defects in improper operation, or residual cutting scrap around the cutter causing spiral linear defects.
Mismatch (step): “step” defects caused from not smooth jointing between cutting paths.
Burr/flash: serrated or strip defects caused from partial cutting waste not separating from the part under the radial force of the cutter.
Short shot: too large cutting stress after the cutter is worn causing collapse or lack of material around the wear areas of the part.
Thread damage: rather small or large bottom hole of the tapping, bottom hole skewing, or tap wearing causes partial thread disorder, thread missing, or thread mismatching etc.
Crush: cutting residues left on machining jigs or external force makes impurities be stressed into the product forming sunk defects.
Crack: insufficient casting density or cutter abrasion causing overlarge cutting stress and then causing tearing defects.
Defective cutting: the position of part fixed skewing or the relative coordinates of the cutter changing cause cutting too large or too less, including excessive cutting or insufficient cutting(also called excessive material).
Hole deviation: improper positioning or slant reinforcing column, or even uneven shrinkage of die casted parts cause hole position deviates from the center of the strengthening column where the hole is located.
Defective chamfer: for assembling or safety purposes, chamfer the sharp edges of the part. If there are no special requirements on the drawing, the thread chamfering should be controlled according to C0.2±0.1, and the tapping flash should not be higher than the top surface of the screw column (that’s to say, the height of flash should be lower than that of chamfering).
Threaded flat(shallow threaded):large screw bottom hole causing thread sliding or insufficient thread torque, and the thread presents cone platform when visual inspect it.
Structure mismatch: the product doesn’t match the 3D drawing, common mismatches include excessive material, missing material, roundness of holes(rollers or pillars).
Distortion: the thickness and toughness of the part change after machining with the influence of part material, which causes the initial shape of the part and then causes uneven or distorted product shape.

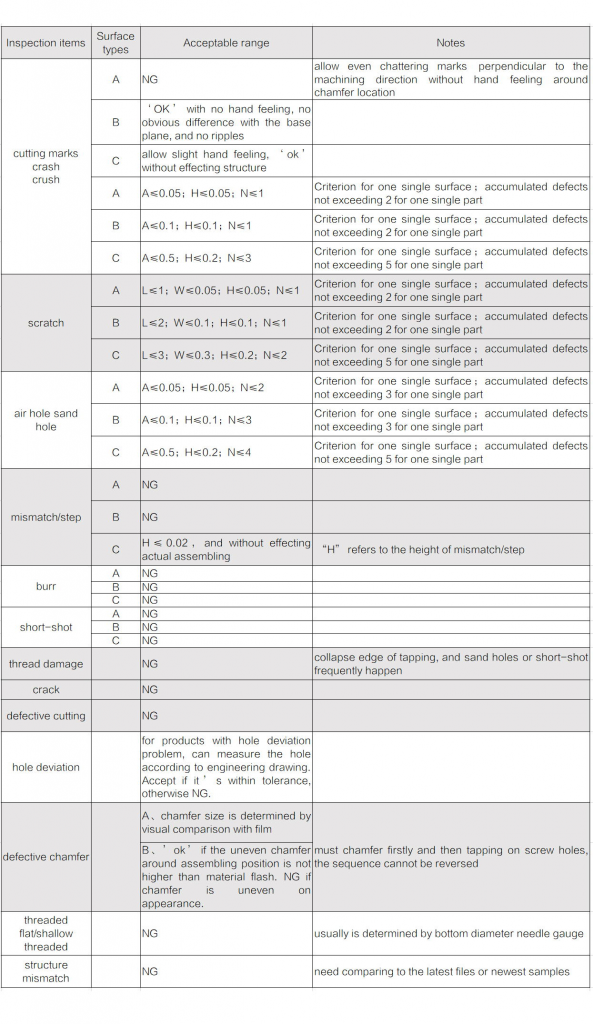
Classification of part surface:
A surface: the part surface is exposed outside directly after assembling, which is generally called appearance.
B surface: the part surface is not directly exposed outside after assembling, but can be seen directly when rotated at a certain angle.
C surface: the part surface is not directly exposed outside after assembling, and can only be seen after splitting some parts.

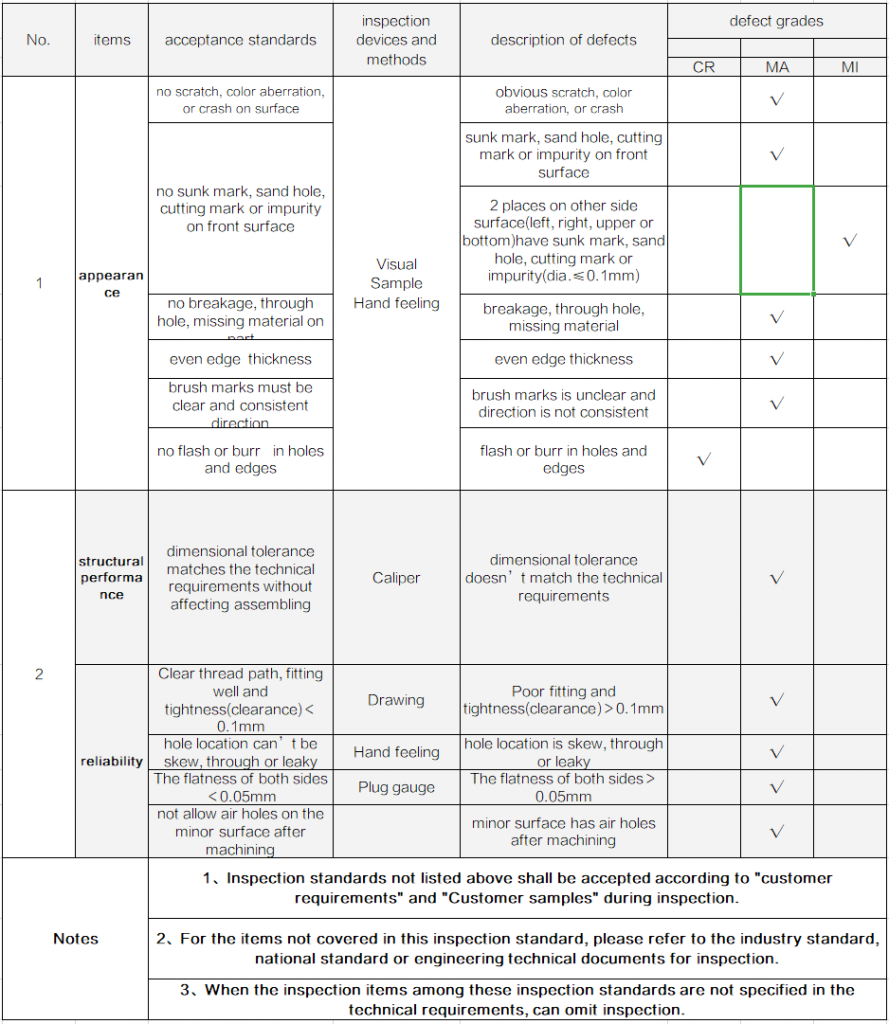
Acceptance standards and defect grades of CNC machined parts

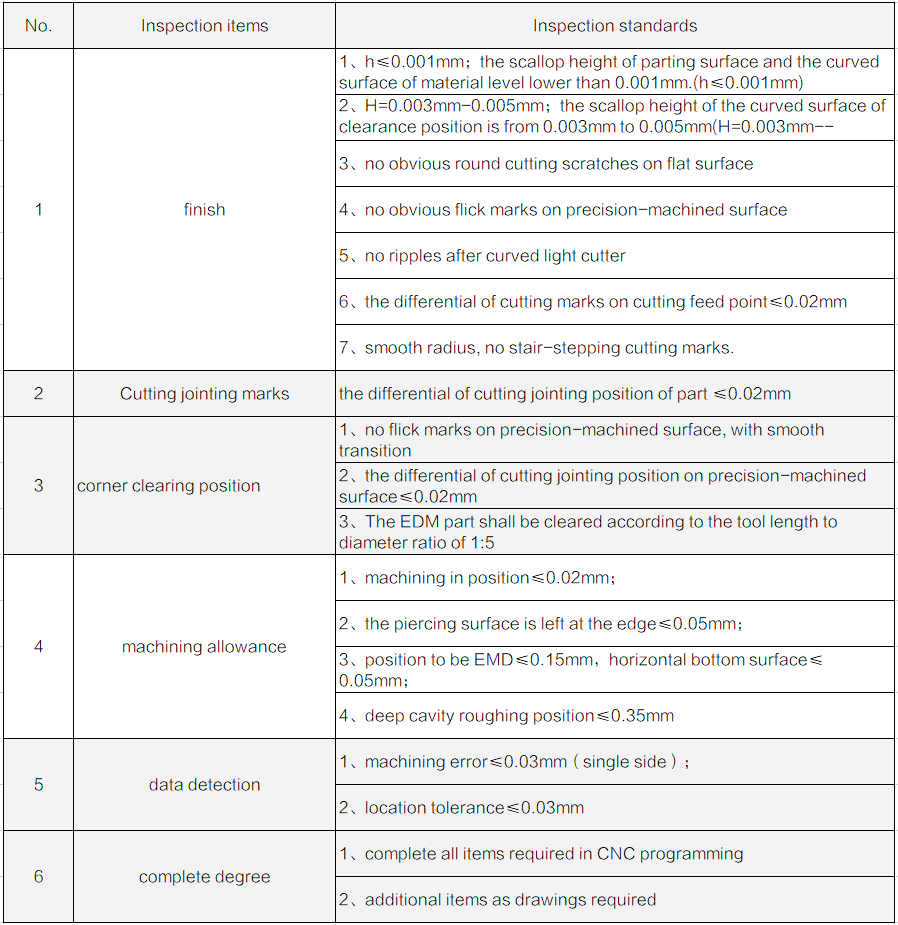
Standards for CNC machining process

Appearance inspection standards for CNC machining

FAQ

How to ensure the quality of CNC machined parts?
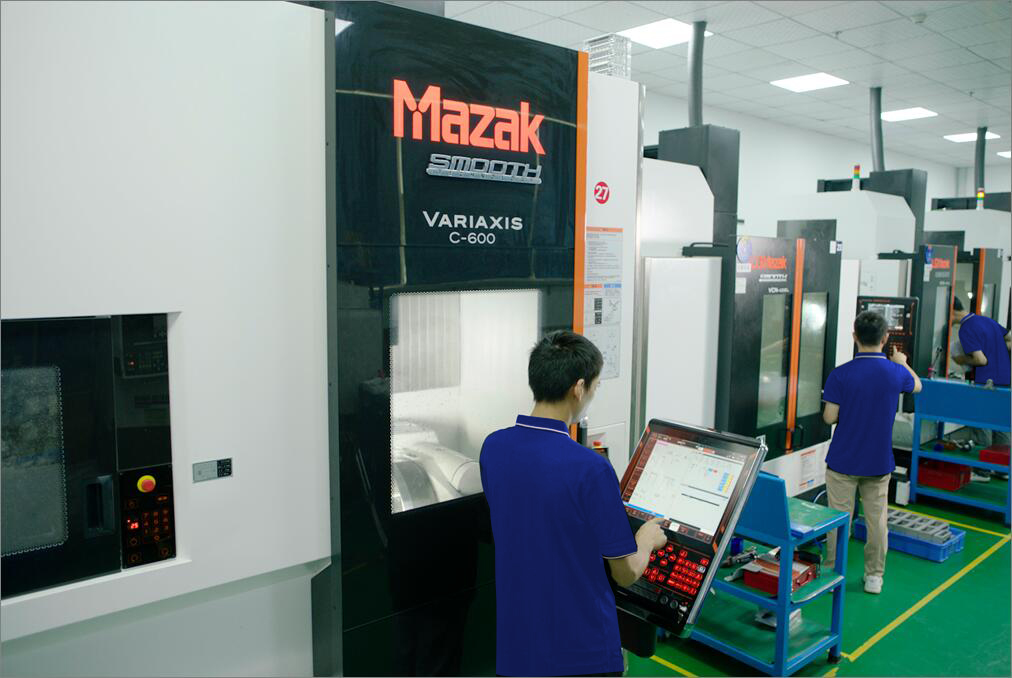
We’ll select appropriate CNC machines according to customers’ detailed requirements. Secondly, our QA team will inspect the raw materials, strictly control every step in machining process to ensure the machining is done as required. Then we will check the size and appearance of the product, and confirm 100% qualified before packing, and finally deliver the parts to you. . Therefore, you don’t need to worry about the quality when cooperate with GREFEE.
Factors that impact CNC machining quality
It mainly includes the precision of CNC machines used in processing, the technologies adopted in processing, and the method of finishing treatment, as well as whether the quality control is standardized or not.
What is the CNC machining process?
Main processes: drawing auditing – technology evaluation – programming and verification – raw material purchasing and inspection – production and measurement of CNC clamps – CNC roughing -CNC precision machining – dimension measurement – post finish – appearance and size measurement – packing & storage – shipment arrangement – shipment following up – customer use following up(feedback)

Summary:
Good CNC machined products cannot do without strict inspection standards, especially cannot do without an experienced and professional CNC machining supplier. GREFEE not only has hundreds of imported CNC machines, but also has a strict and standard quality management system, which is the fundamental guarantee to ensure the quality of your products. Therefore, send it to us if you have any parts need customized manufacturing service.

MORE BOLG
Categories

Try GREFEE now,for free
We keep your uploaded files confidential and secure.
